M-Pesa. Mobile Money. What? How?
M-Pesa is a mobile money service in Kenya. Built by Safaricom, it was launched in 2007 and grew to become the prime example of African technology leapfrogging more established infrastructure and systems, namely the banking system.
Logistically, banks didn’t stand a chance of becoming successful outside of cities. Africa is huge. The continent is the size of the United States, India and China. Combined. Getting banks and ATMs in every single village and town is tough, as there are an estimated 400,000 rural settlements in Africa.
One key infrastructure that made it across most populated areas of Africa is telecommunications. Numbers are hard to find, but approximately 70% of African settlements are covered by cell coverage. And when there is cell coverage, shops start selling airtime to top up your phone.
The logical step for African telecom operators was to allow their users to deposit money on their cell phone accounts, in a way similar to topping up their airtime credit. That means users can deposit money on their phone number, send it to other phone numbers and pay for goods and services without the need for cash.
In this post, I want to show how mobile money works for the quarter billion people who have an account in Africa. To do so, let’s analyze how M-Pesa works in Kenya. A lot has been written about mobile money, but there is surprisingly little written about how it works in practice.
Depositing money
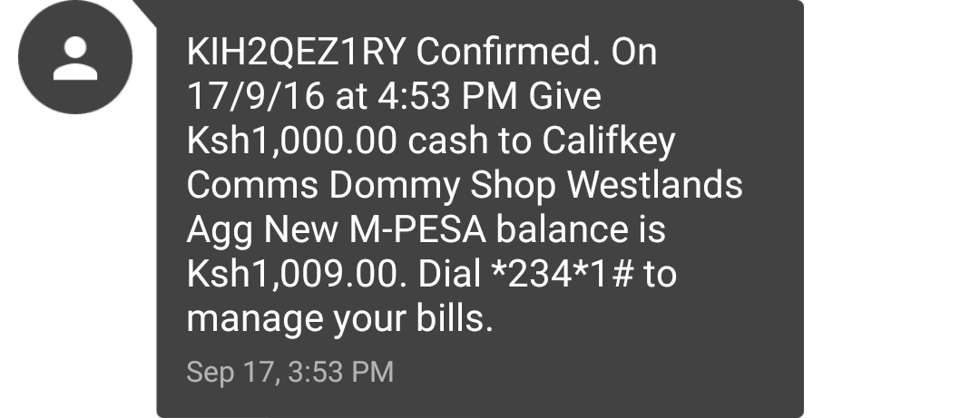
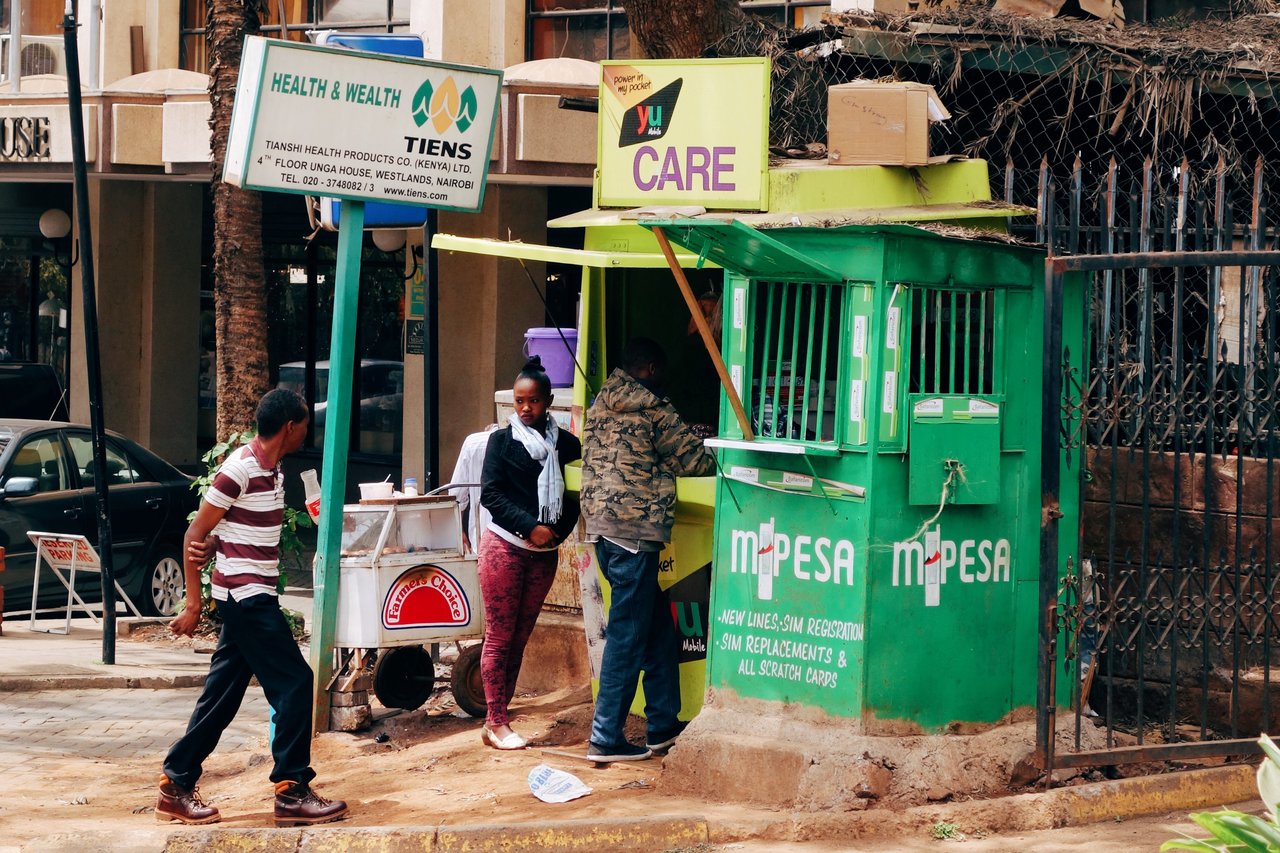
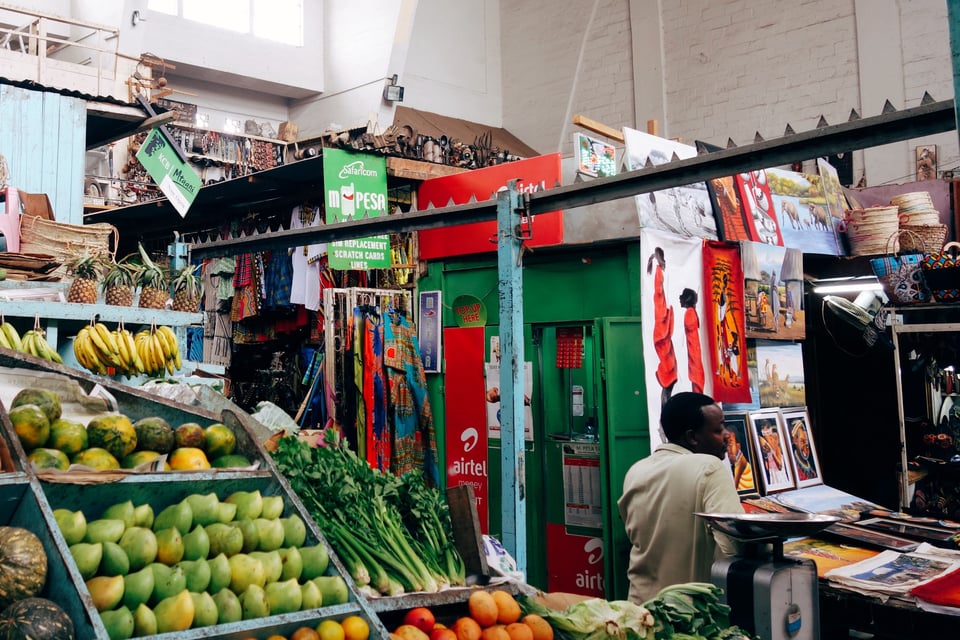
Before starting to use M-Pesa, you need to deposit money on your account. Fortunately, this part is really easy: go to any M-Pesa agent, give them your phone number, hand over the cash, and within a few seconds you’ll get a confirmation SMS stating the deposited amount and your balance. M-Pesa agents are small shops that are easily found due to the prominent M-Pesa branding. They allow you to deposit and withdraw money, register a new account, and are key to educating people on how M-Pesa works. In Kenya, there are over 40,000 M-Pesa agents. An agent is to Mobile Money what a teller or ATM is to banks.
Using M-Pesa
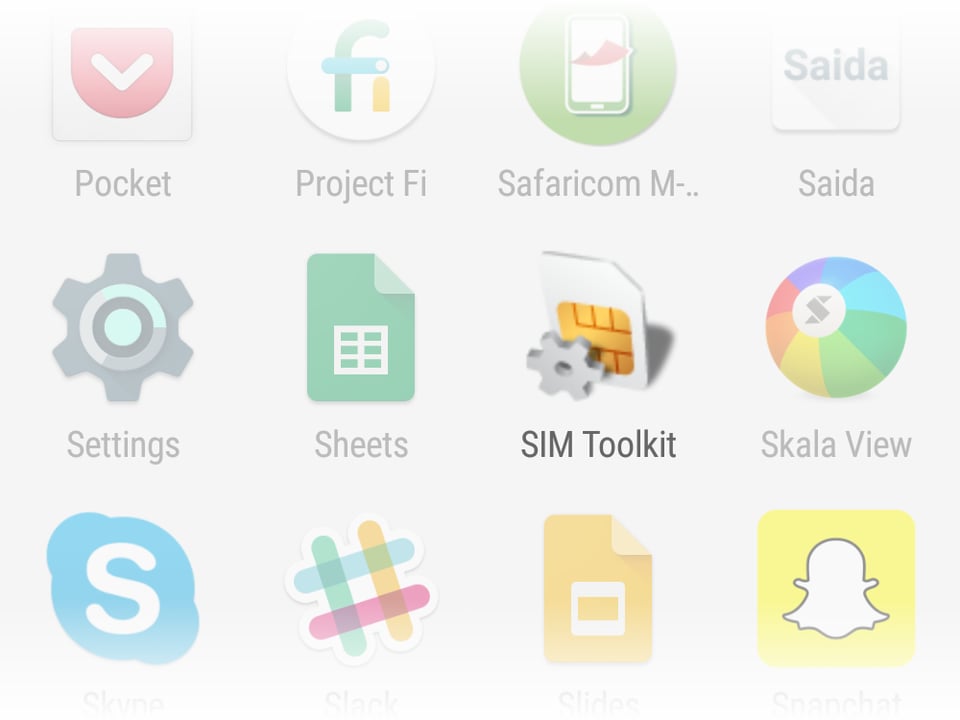
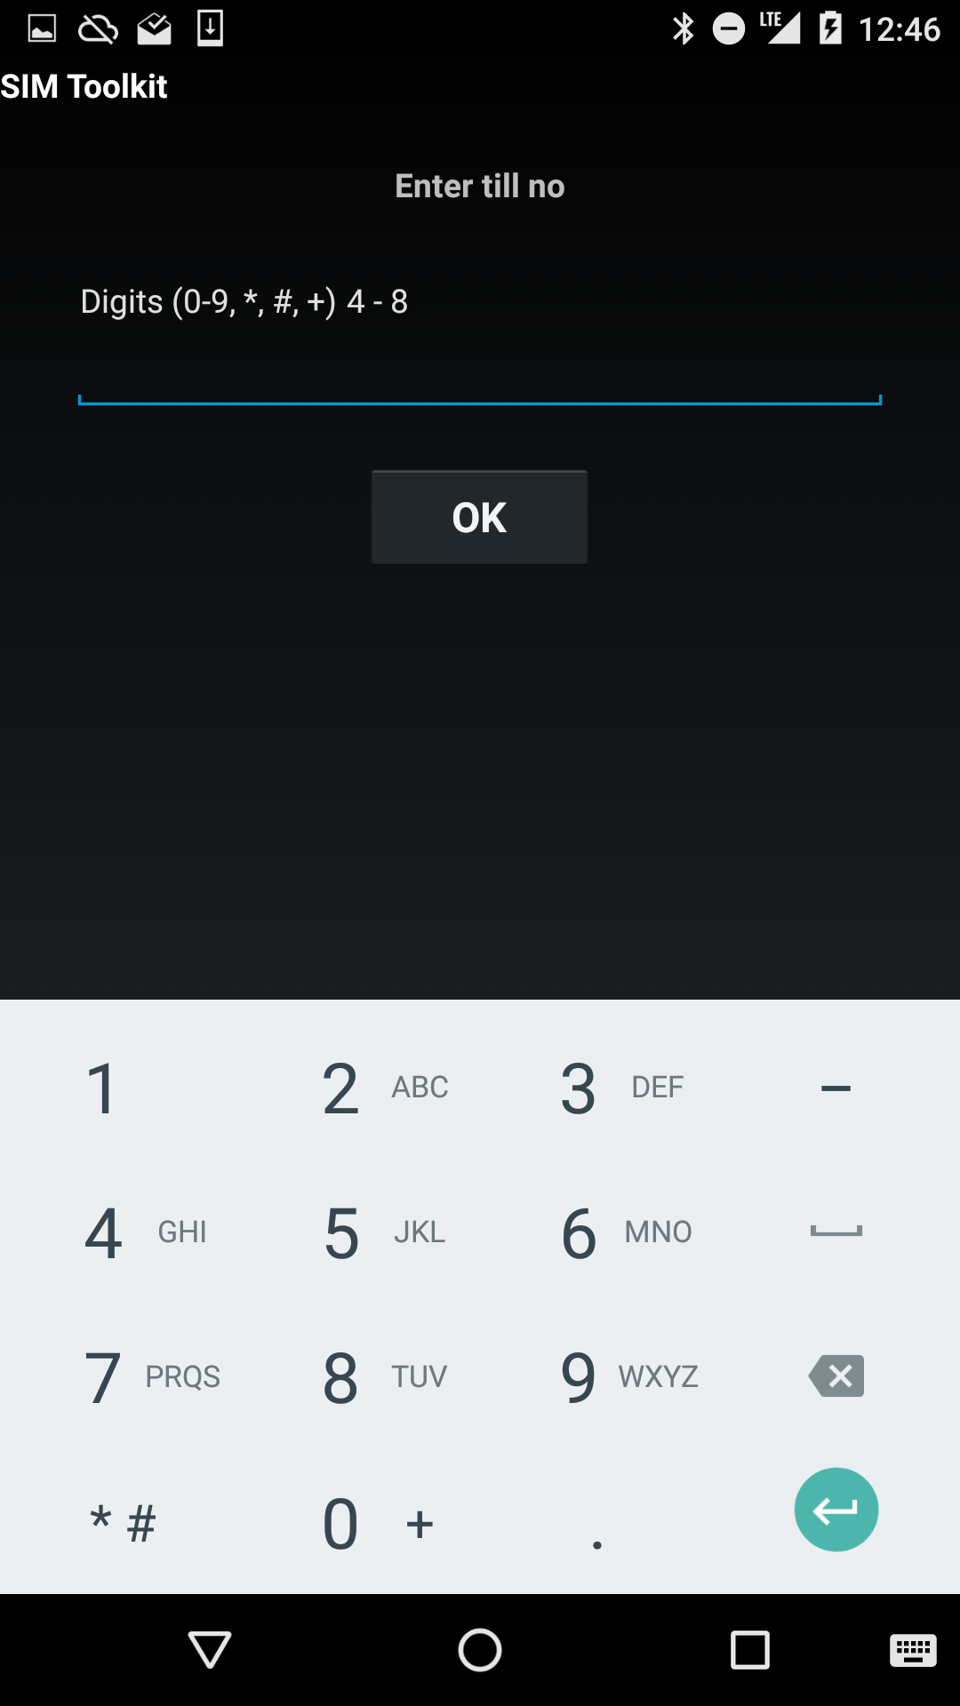
M-Pesa is controlled through a SIM application. A SIM application is a lightweight software pre-installed on the SIM card. It can be updated over the air, and works on any phone, even feature phones.
To access the SIM application, Android has a SIM Toolkit app that appears in the launcher when it detects a SIM application on the SIM card.
M-Pesa menu
Safaricom SIM cards have two applications, but the one we are interested in is M-PESA. Tapping it loads the M-Pesa menu.
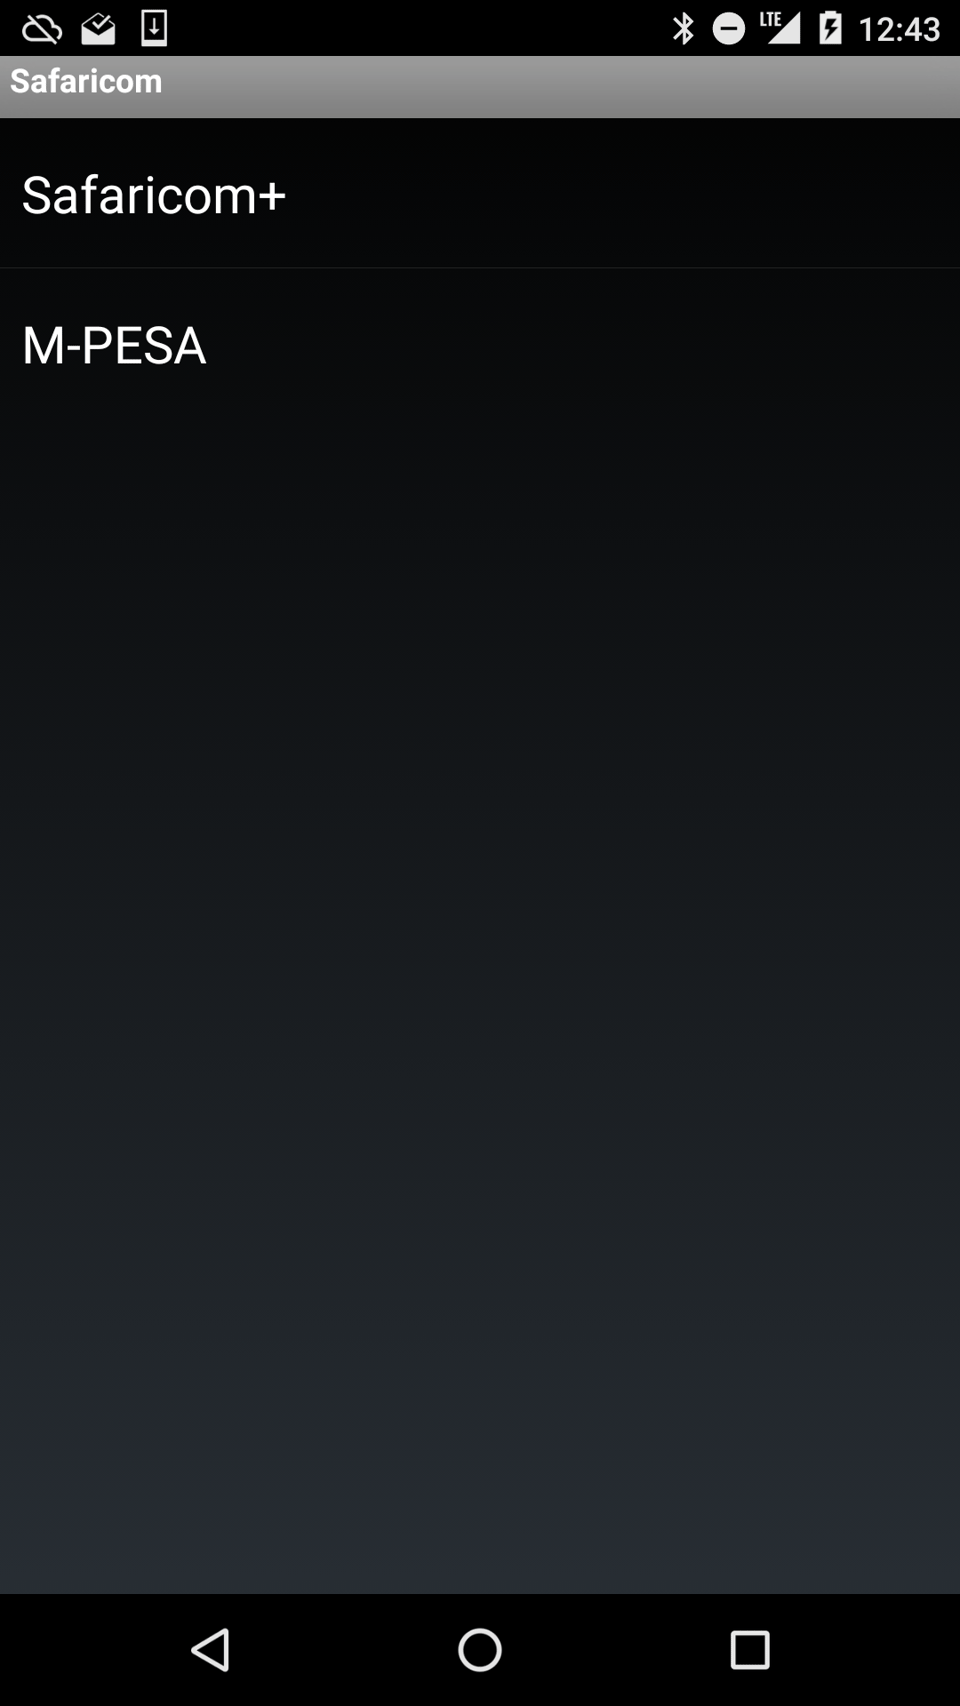
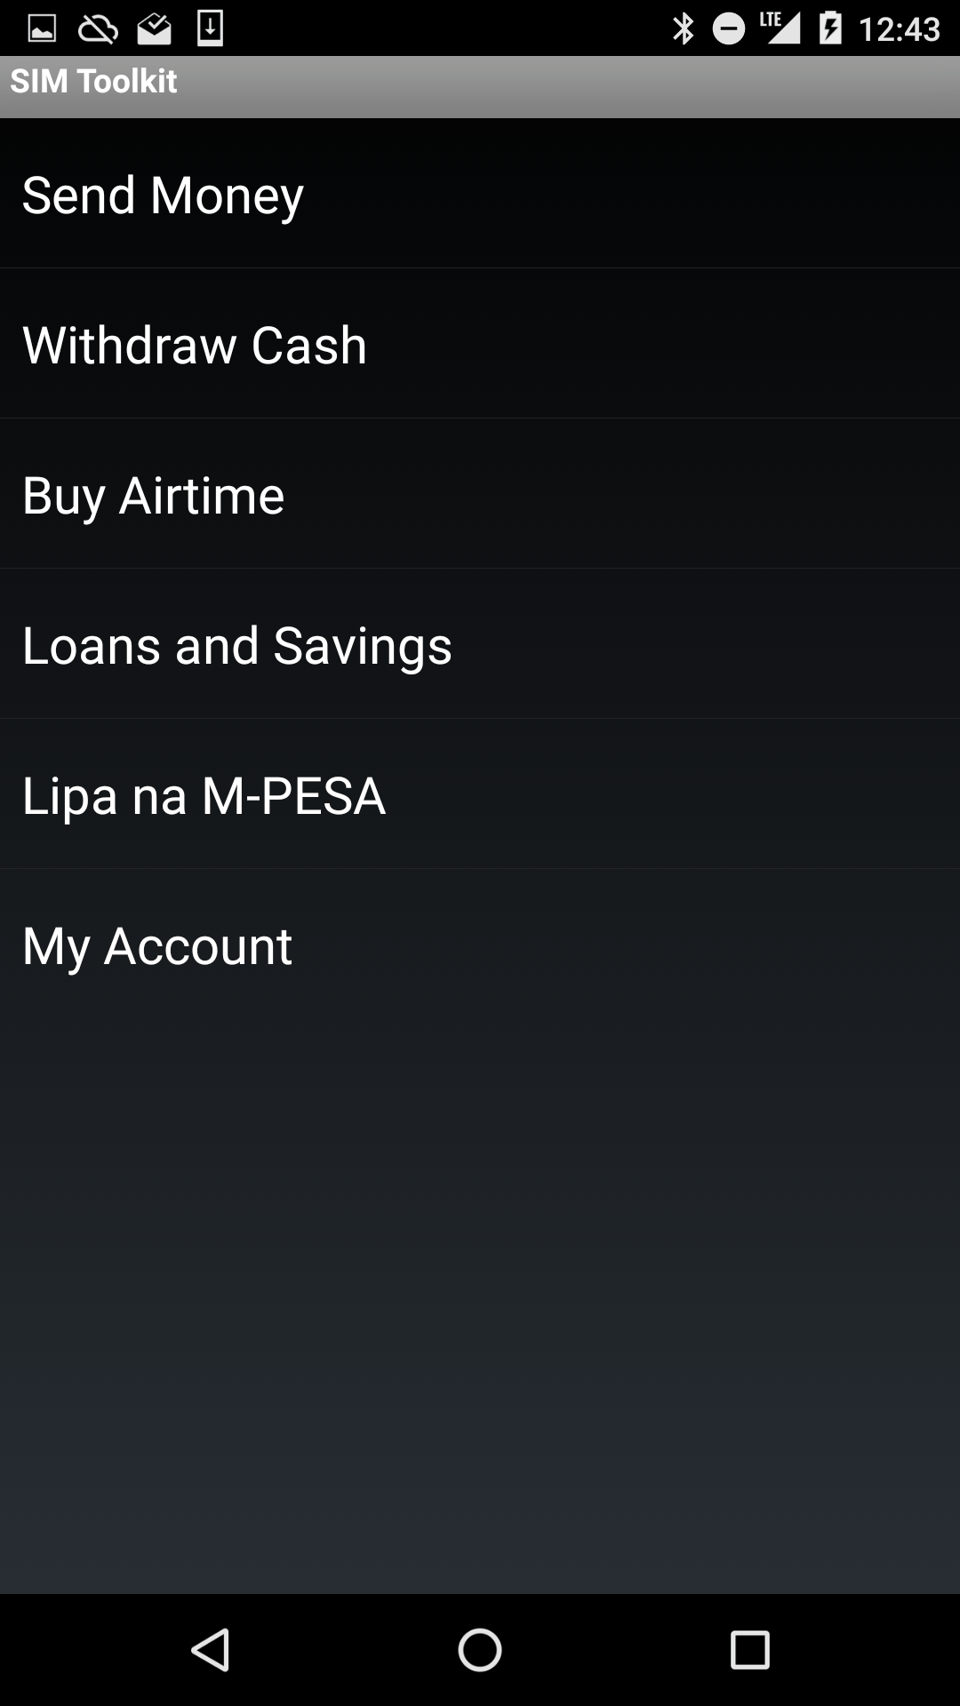
This is the screen from where users perform all M-Pesa transactions. As you can see, there are a few options here. In this post, we’ll focus on “Send Money” and “Lipa na M-PESA”.
Send Money
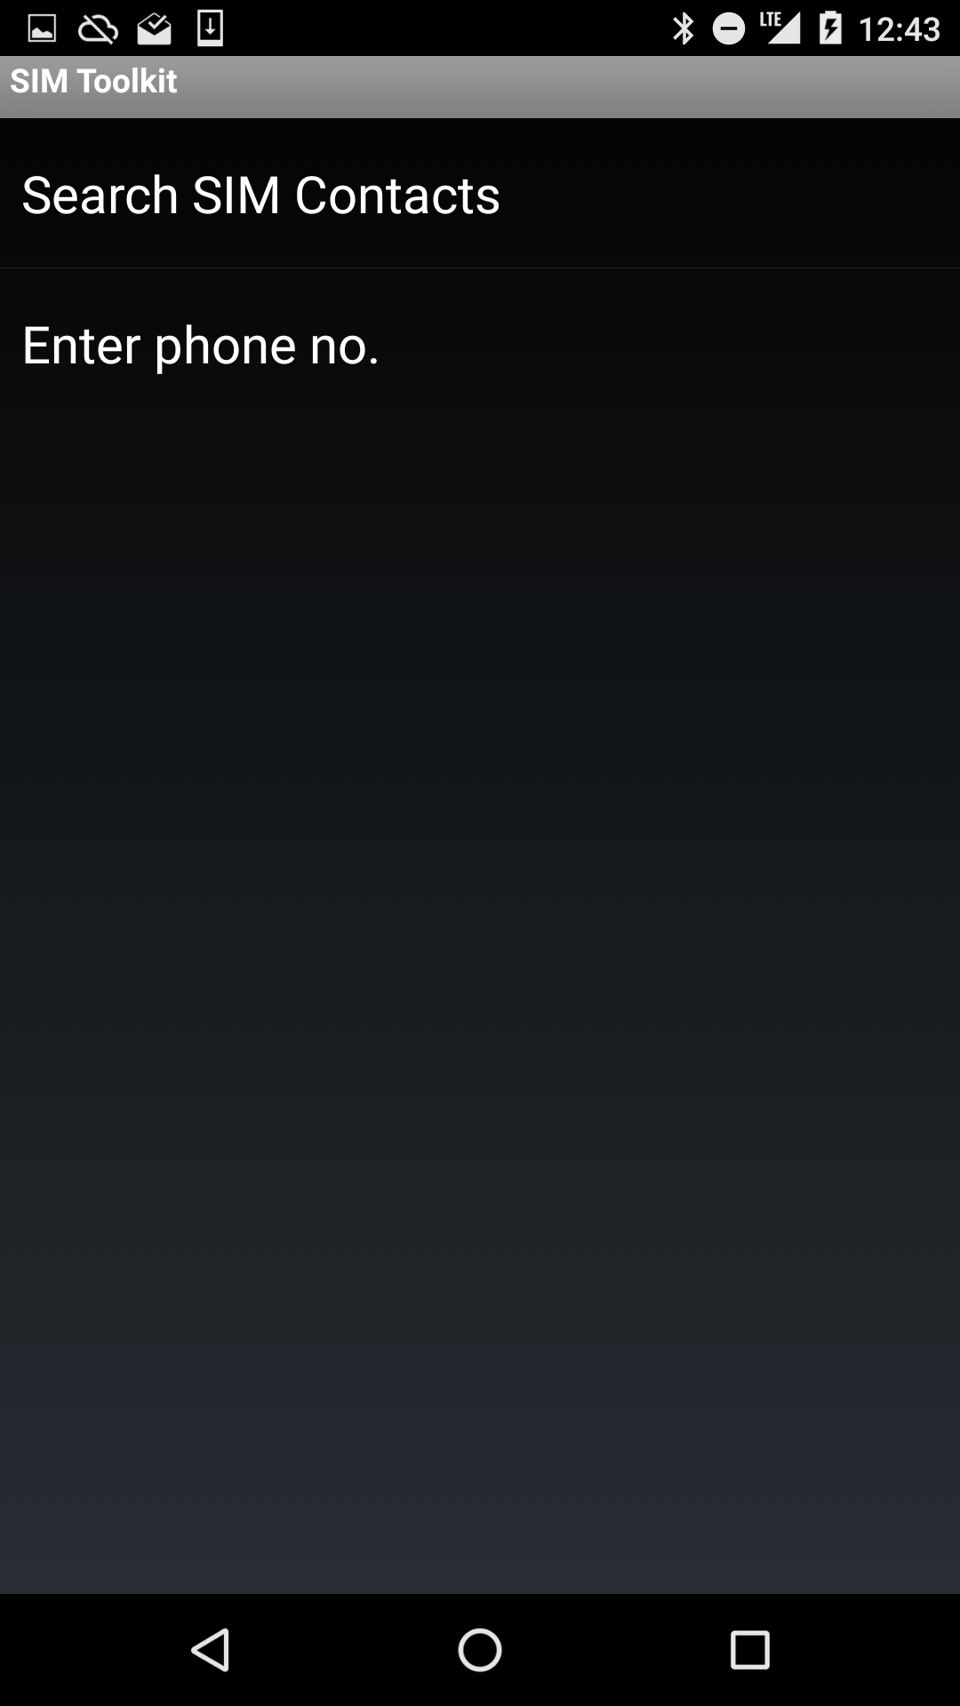
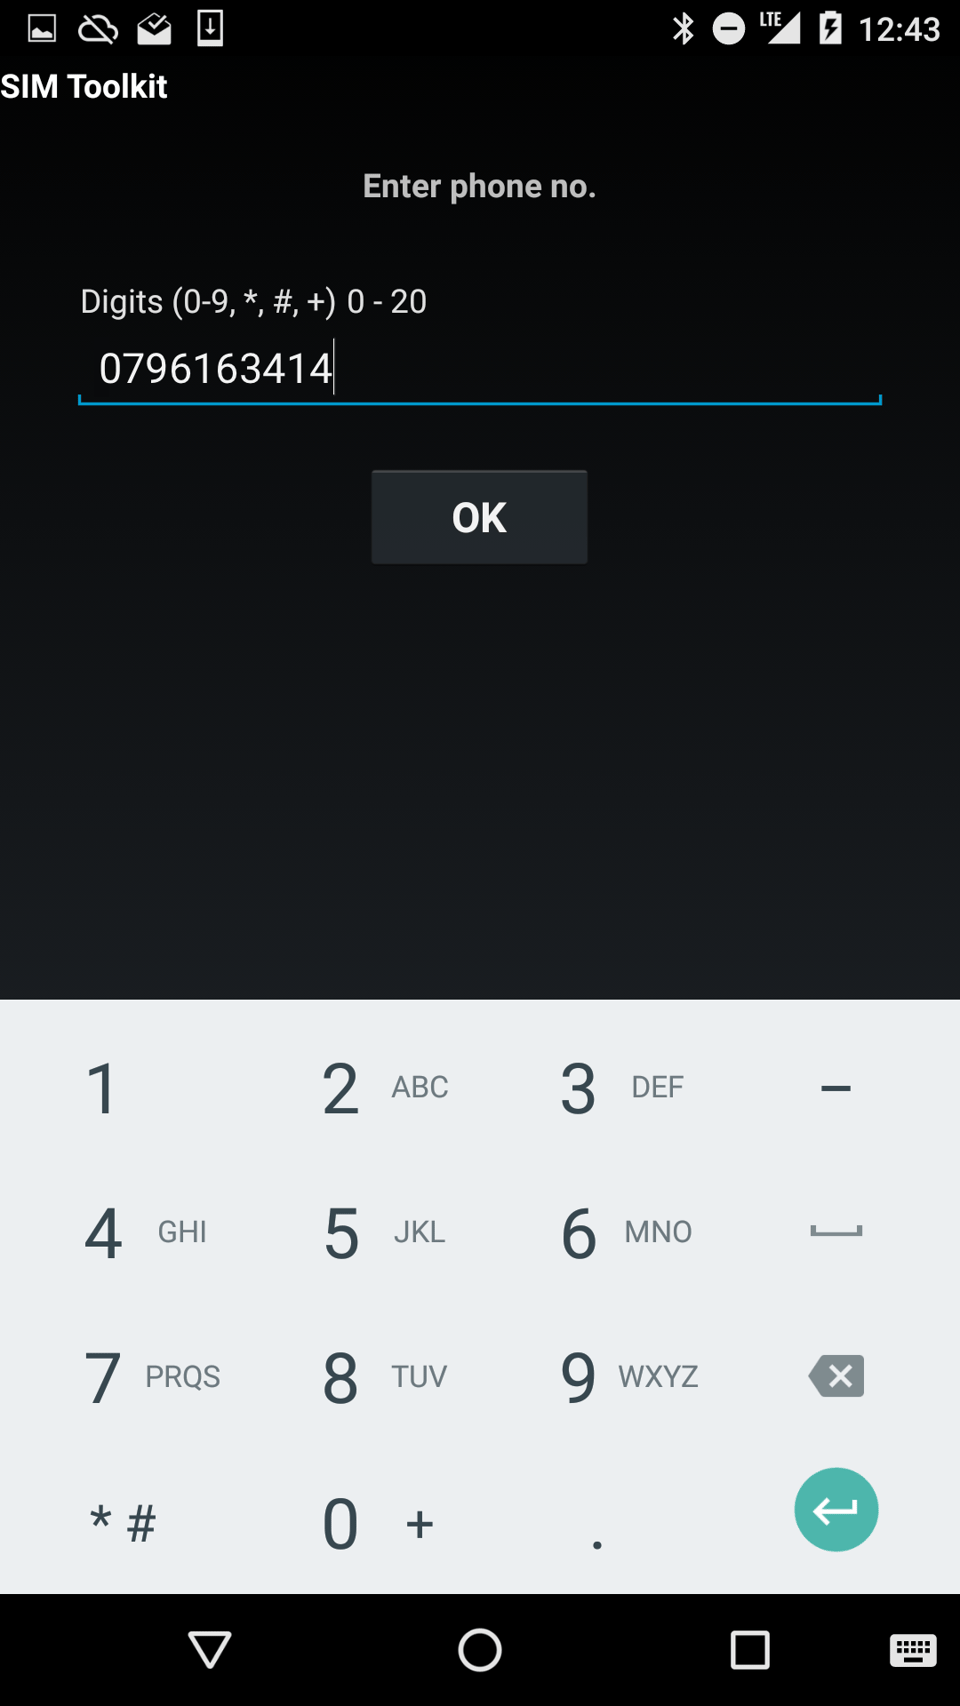
The main feature of M-Pesa is sending money. Tapping the “Send Money” option prompts the user to enter the phone number of the person to send money to, or pick a contact stored on the SIM card. With smartphones, contacts are not saved on the SIM card anymore, so the number has to be entered manually or copy-pasted from the Contacts app.
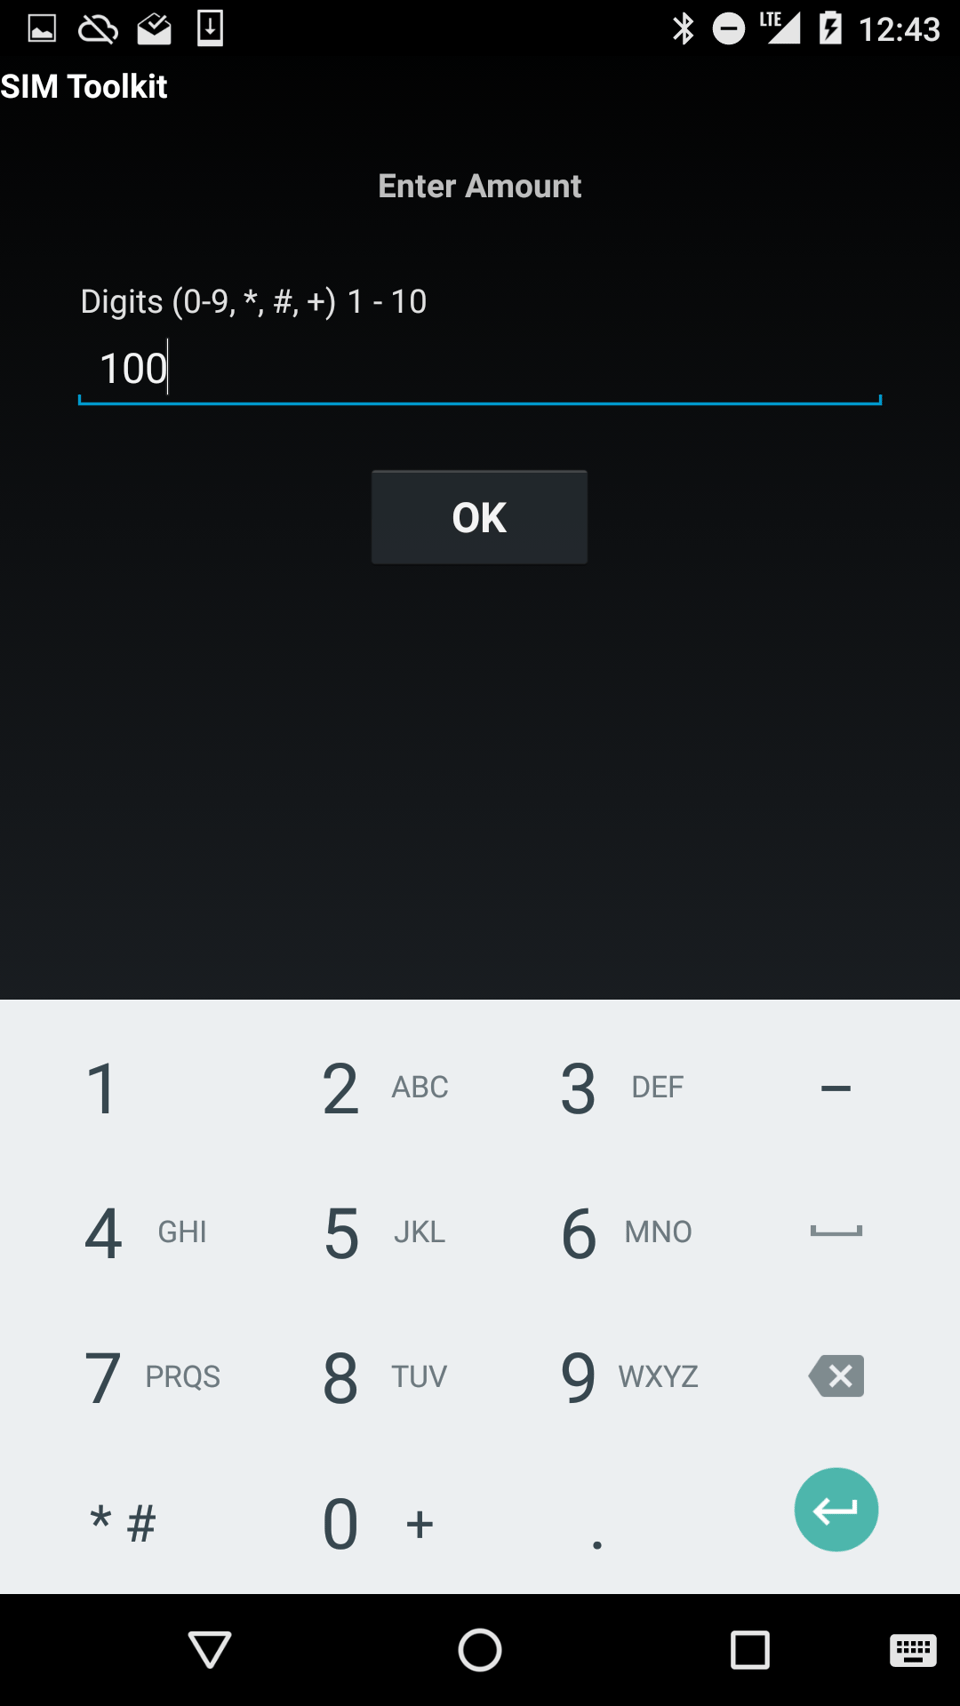
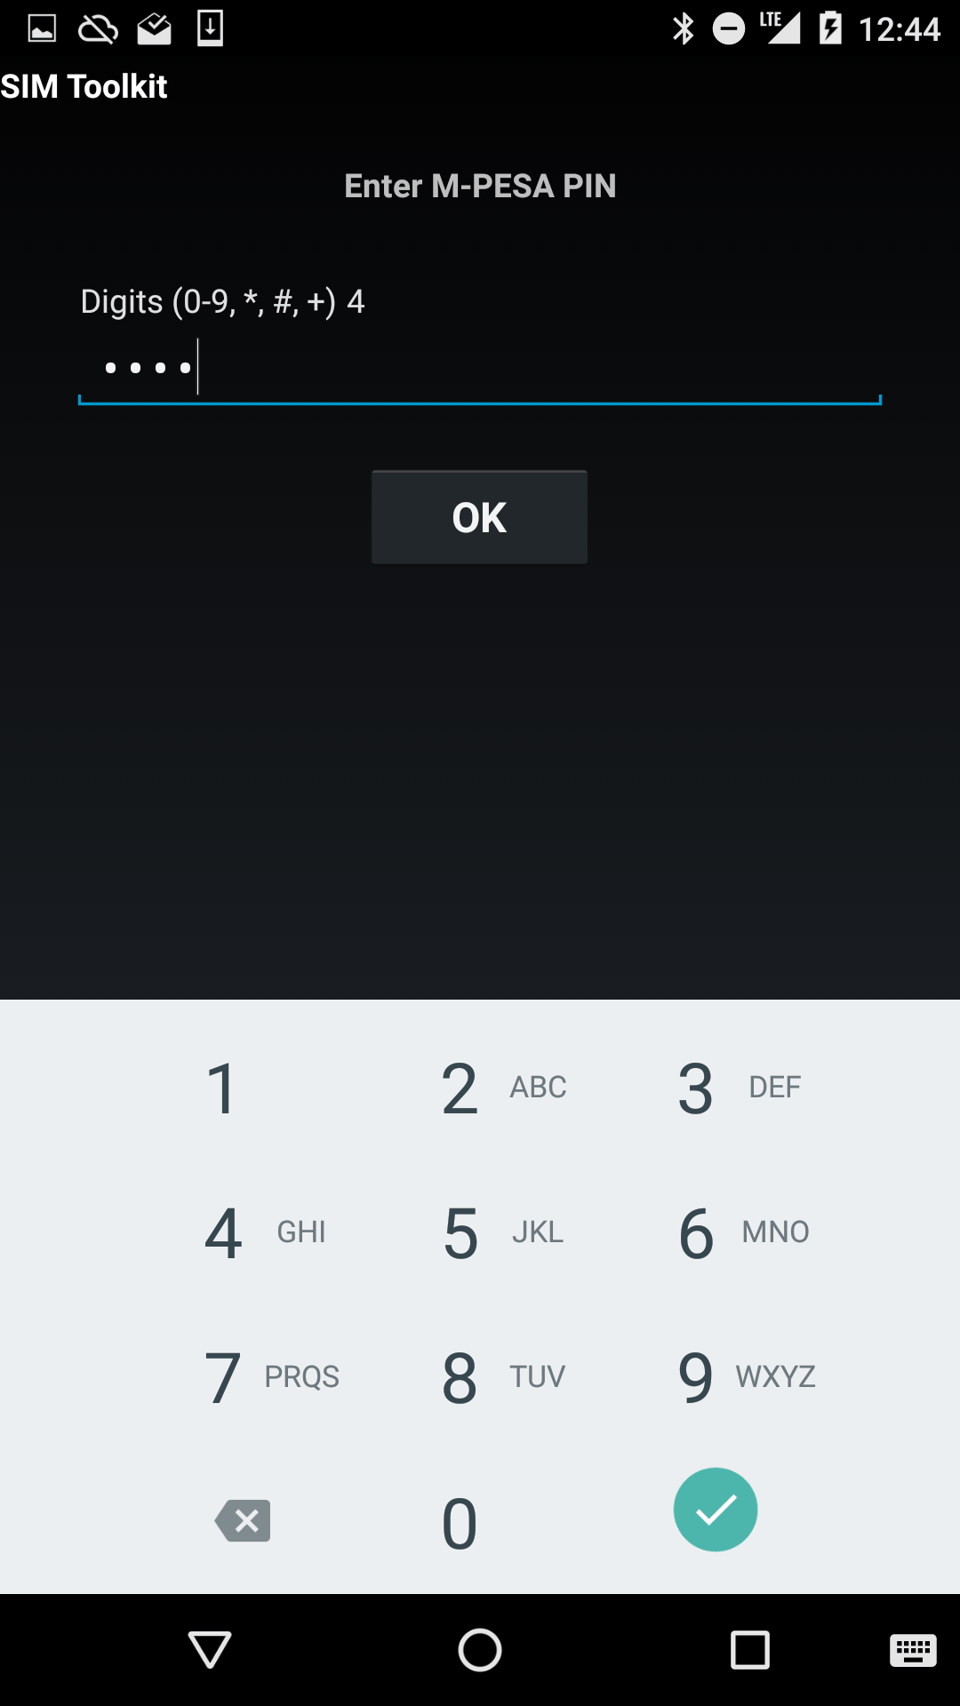
The next step is to enter the amount the user wants to send. In Kenya, the amount is given in Shilling (KSH). Then the user needs to enter their M-Pesa PIN. This ensures that if the SIM card is lost or stolen, money can not be transferred out of the user’s account.
The user is shown a confirmation message, allowing them to verify the phone number and amount. Pressing “OK” confirms the transaction. A “Sent” alert confirms the payment went through.

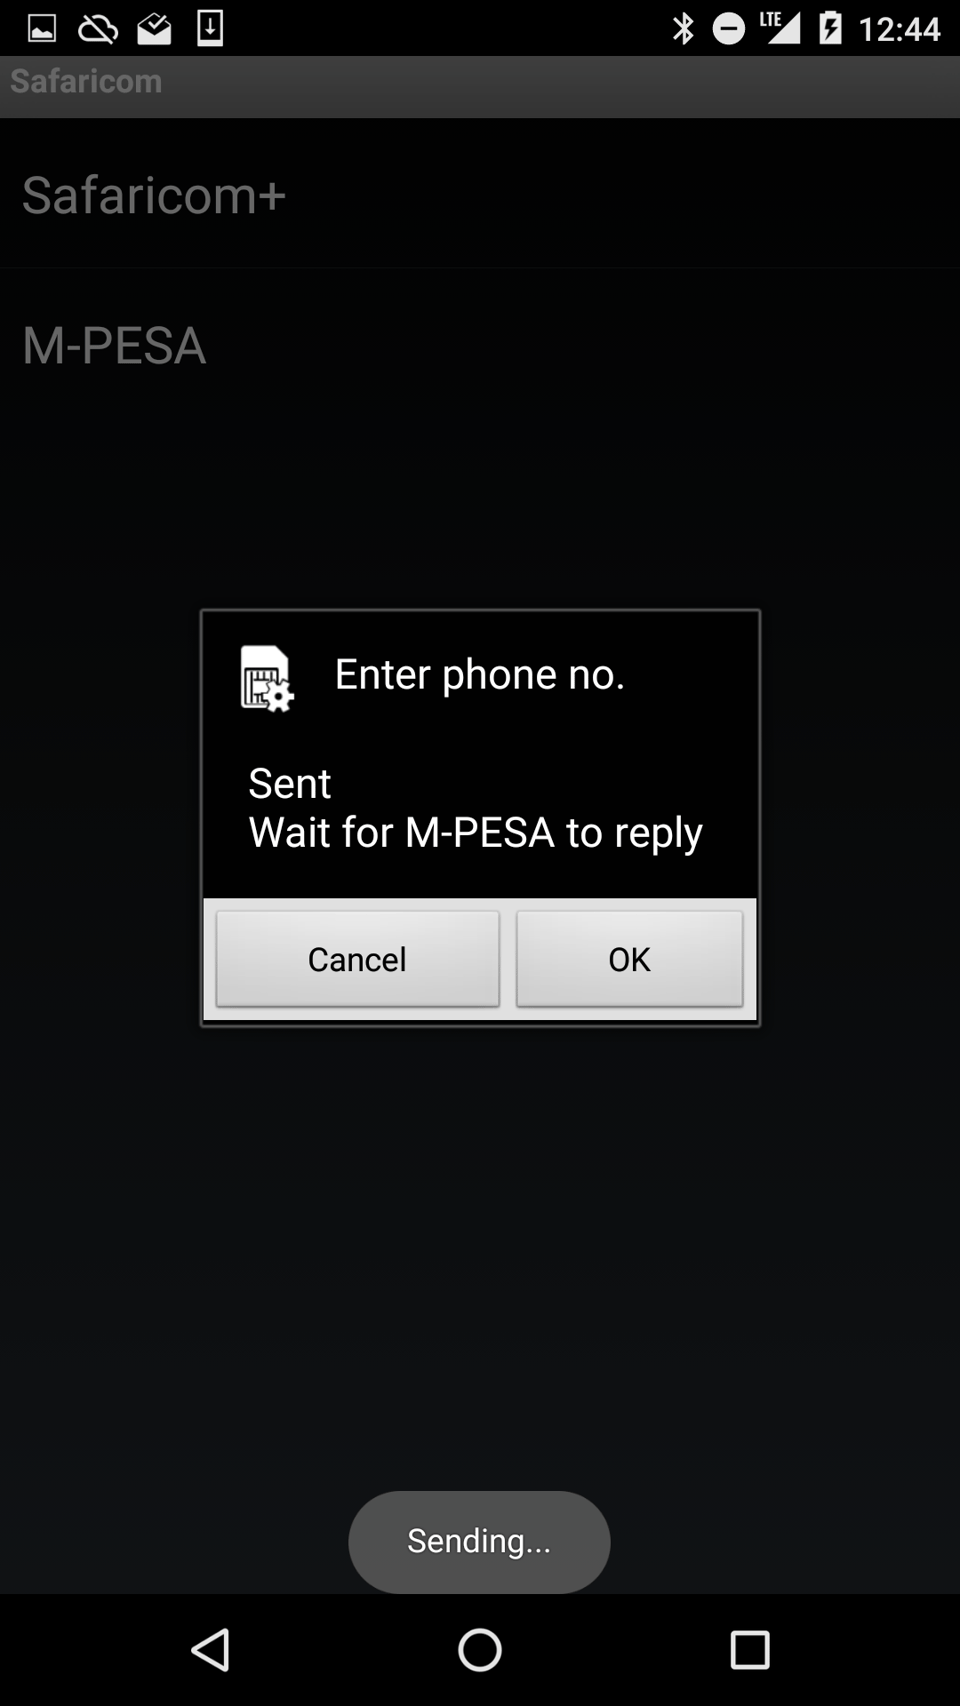
A final SMS will be sent to confirm the transaction and display the user’s mobile money balance.
Lipa Na M-PESA
“Lipa Na M-PESA” is the business variant of “Send Money”. It allows users to pay bills, pay for goods and pay for services. The money is then sent to merchant accounts instead of personal accounts. The functioning is similar to “Send Money”, but there are a few subtleties.
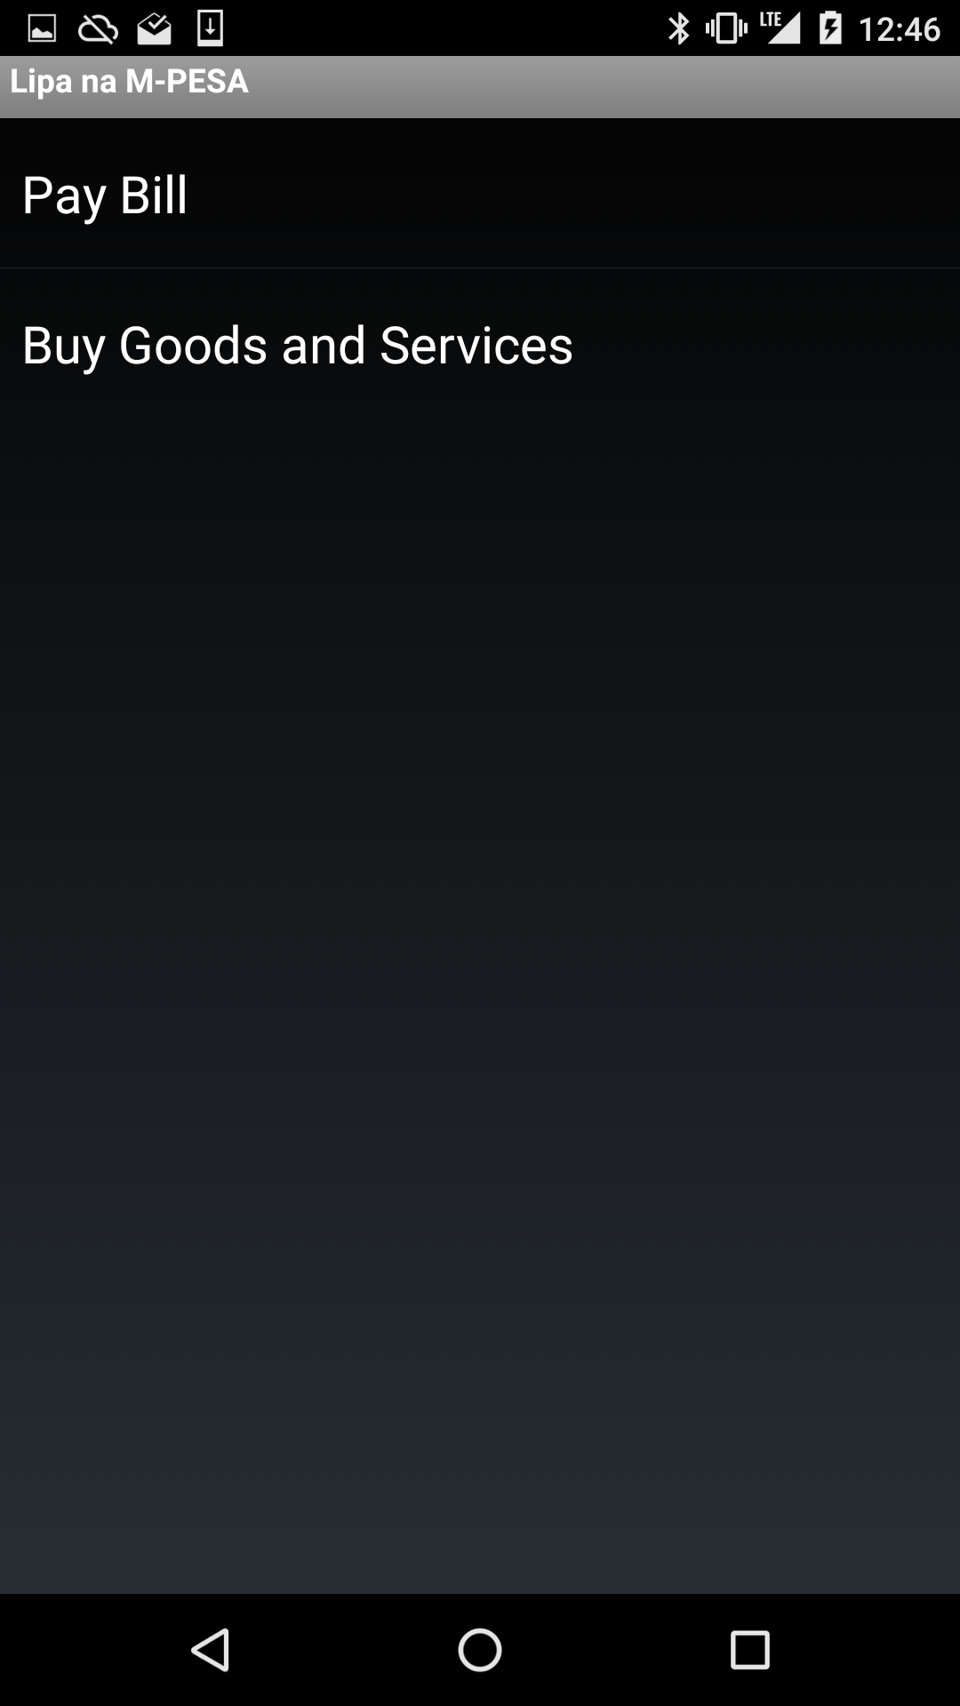
The first option the user has to choose between is “Pay Bill” or “Buy Goods and Services”.
As a rule of thumb, “Pay Bill” is used for payments that are not bound to a physical store or shop, such as utility bills, online purchases, bank transfers and other services you buy remotely. “Goods and Services” is used for purchases that could also be settled in cash, such as groceries, a haircut or paying for the restaurant bill.
Let’s go through the menus and differences between each of them.
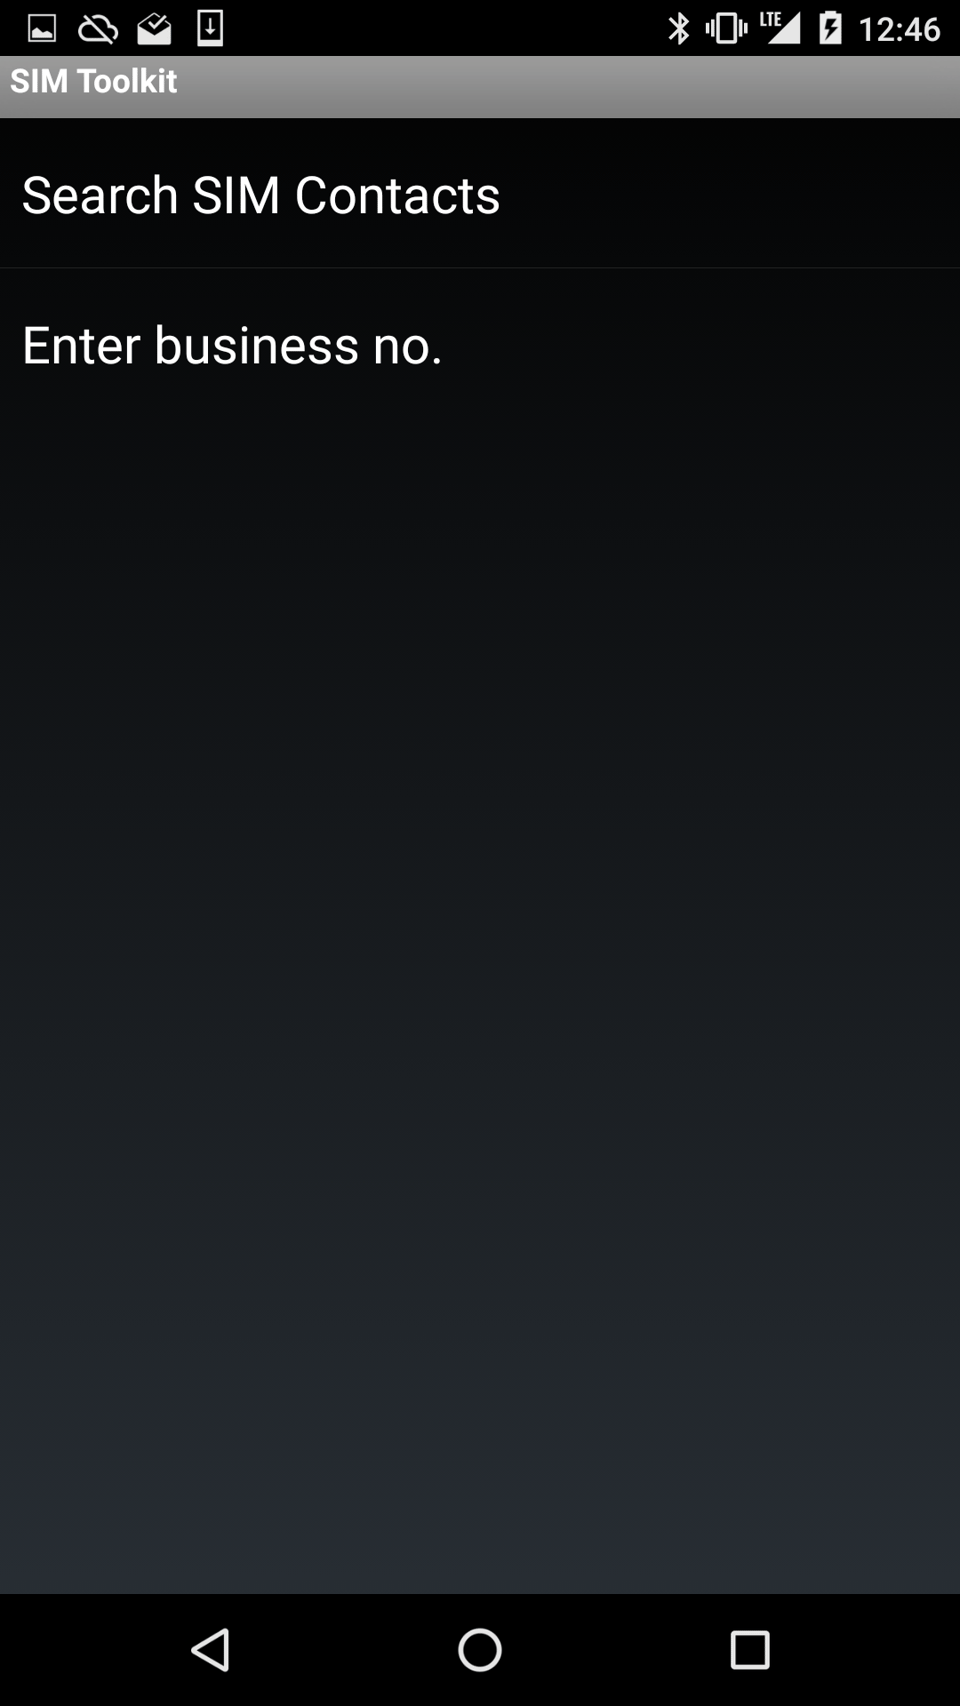
Pay Bill
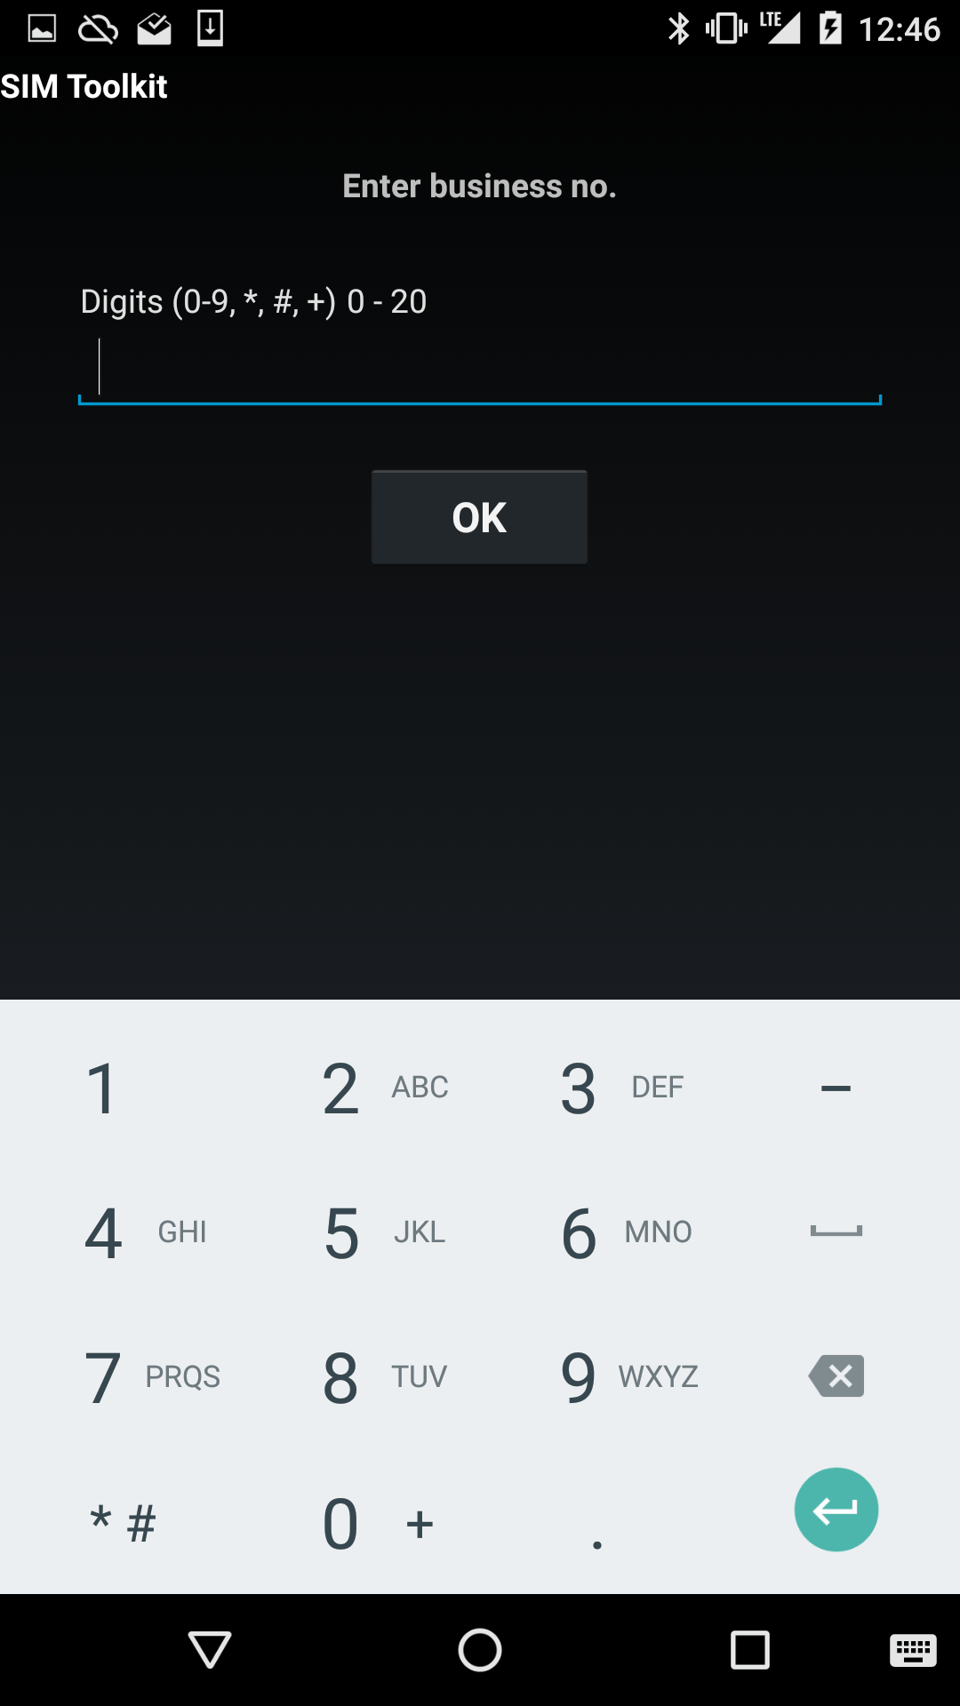
The first step in Pay Bill is to enter the business number. This is not a phone number but rather a numeric identification given to the business.
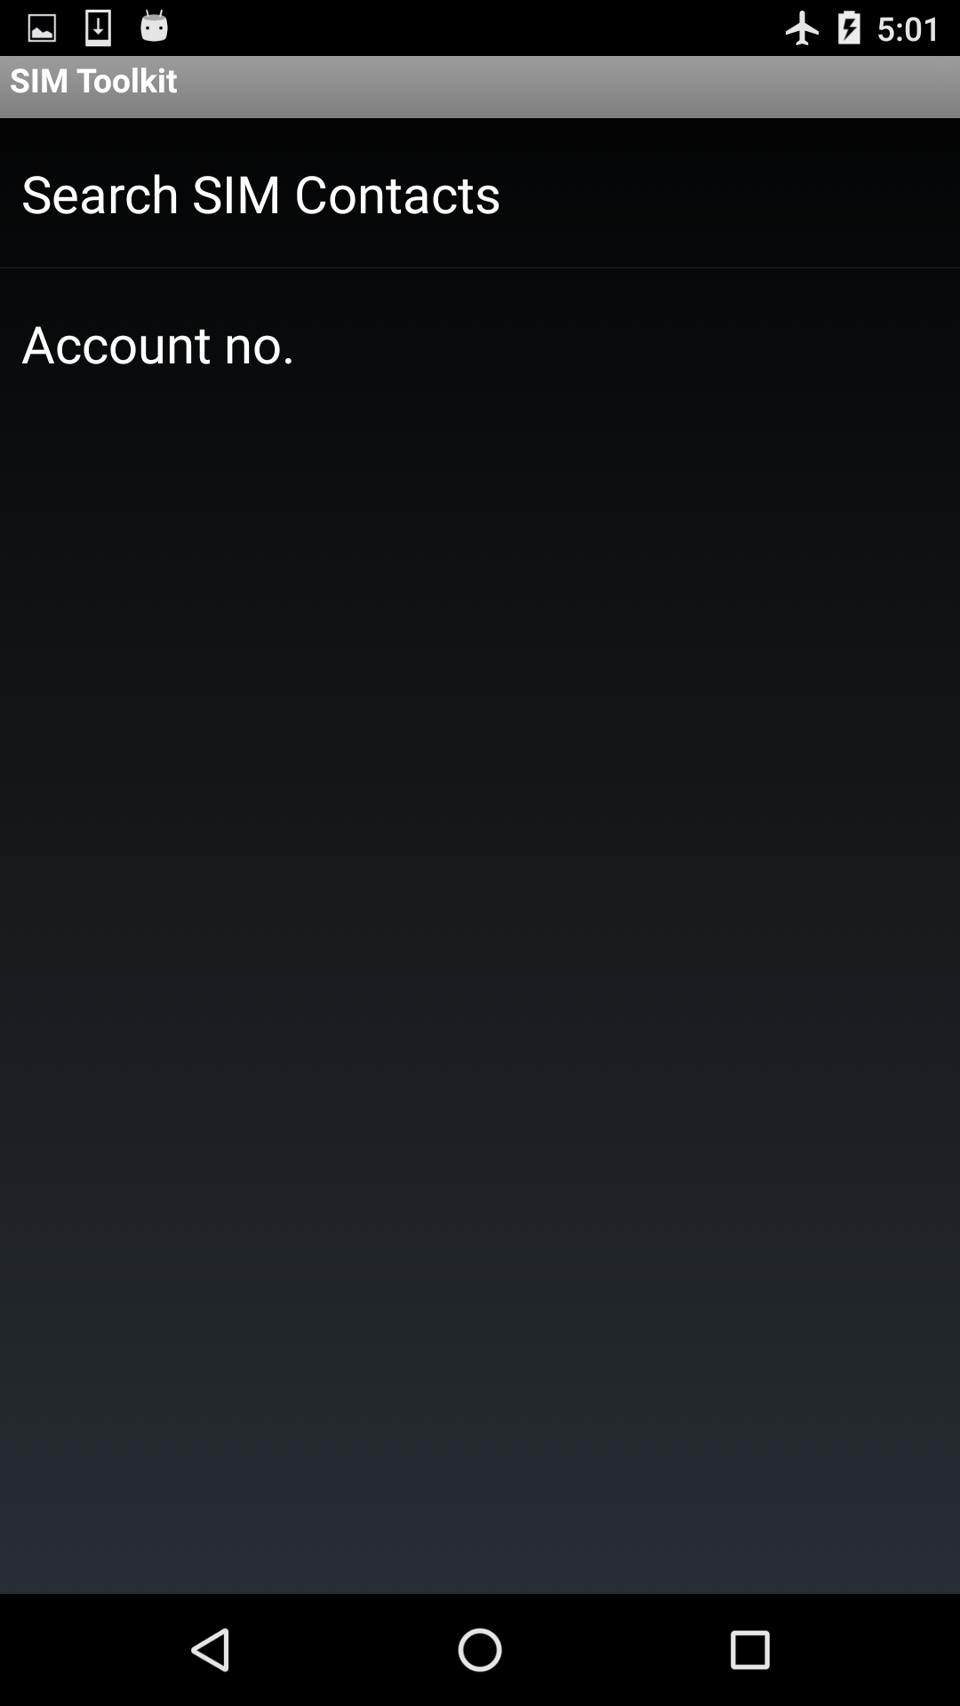
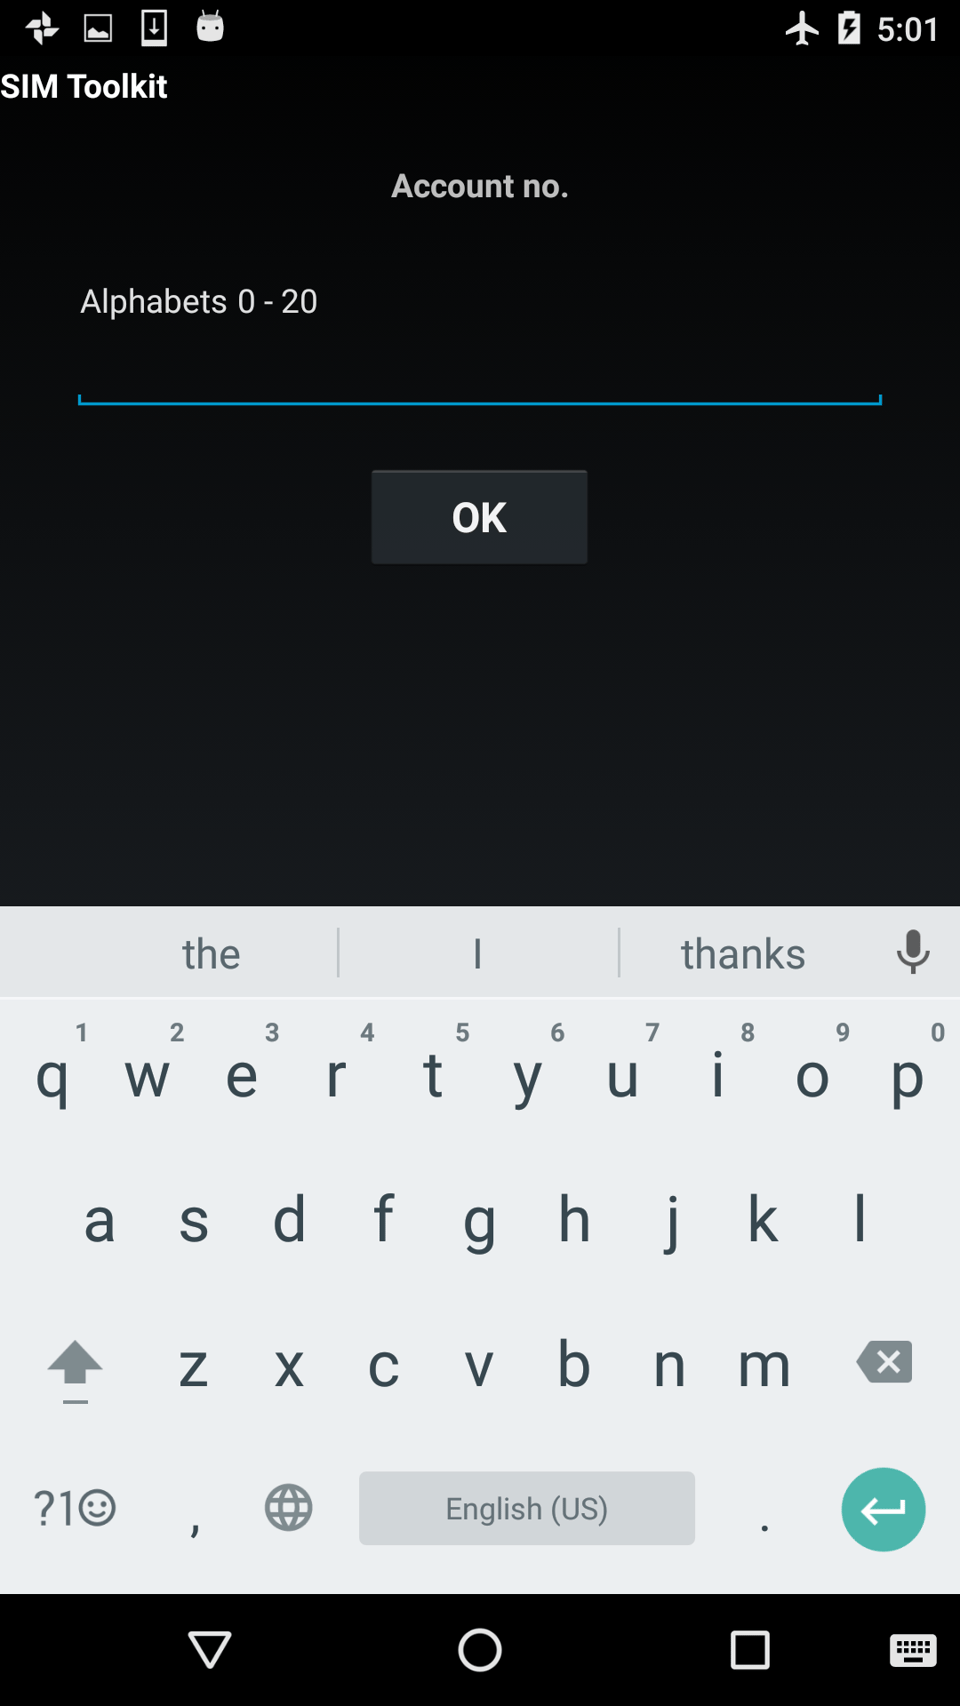
Next, the user is prompted for an account number. To understand the account number, let’s take an example: you want to pay your electricity bill. The business number would be the number of the utilities company. But you also need to provide your utilities account number so that the utilities company can make the link between your payment and your bill.
The final steps are similar to “Send Money”, with M-Pesa asking for the amount, PIN and confirming the transaction.
Buy Goods and Services
Buying goods and services has one step less than paying for bills, since the business does not need to match your payment with your user account. This is because the user is physically present at the location where the good or service has been delivered. As such, only a till number is asked.
Similar to the business number, it identifies a specific till. A business can have multiple tills, usually one for each location.
The following steps are similar to “Send Money”, asking for the transaction amount and PIN code.
The transaction then completes in real life.
Using M-Pesa in real life
Let’s take the example of paying for groceries. Once the total amount is known, the shopper opens the SIM application, loads up the M-PESA menu and pays for the groceries by going through the “Buy Goods and Services” steps shown above. The till number is clearly shown at the register.
A confirmation SMS is sent to both the shopper and the grocery store. If it’s a small shop, the SMS is often received on a phone located at the register. The cashier confirms the total amount has been received, and the shopper walks away with the groceries paid for.
In case it’s a larger store, such as a supermarket, the phone receiving the SMS is not located at the register, since there are often multiple. In that case, the confirmation SMS is added to the checkout system, and the cashier asks for the phone number of the shopper. The checkout system confirms the payment and the customer can go about their business.
Overview, making mobile money better
With Overview, we tried to visualize M-Pesa transactions on smatphones. Giving customers insight in their financials.
I invite you to read about our journey.